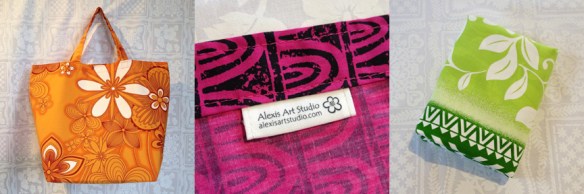
Detailed instructions for a nice lightweight shopping bag. Uses only half a yard of fabric with almost zero waste. Bag size is about 16″ wide, 13″ tall and 6″ across the bottom. Finished inside with French seams.
Most of the time I think it looks best with matching thread. Except, when the print has a lot of white, I will often choose white because it has less visual impact than other colors.
If you make a bag, I’d love to hear your feedback and see your pictures!
Looking to purchase a bag already made? Please visit alexisartstudio on etsy, I have a variety of bags in stock and will be happy to take special orders, too.
Thank you!
Alexis
Skill level: Easy.
Tools: Sewing machine, rotary cutter and mat.
Stitch length: 3. Remember to reverse a few stitches to secure each seam.
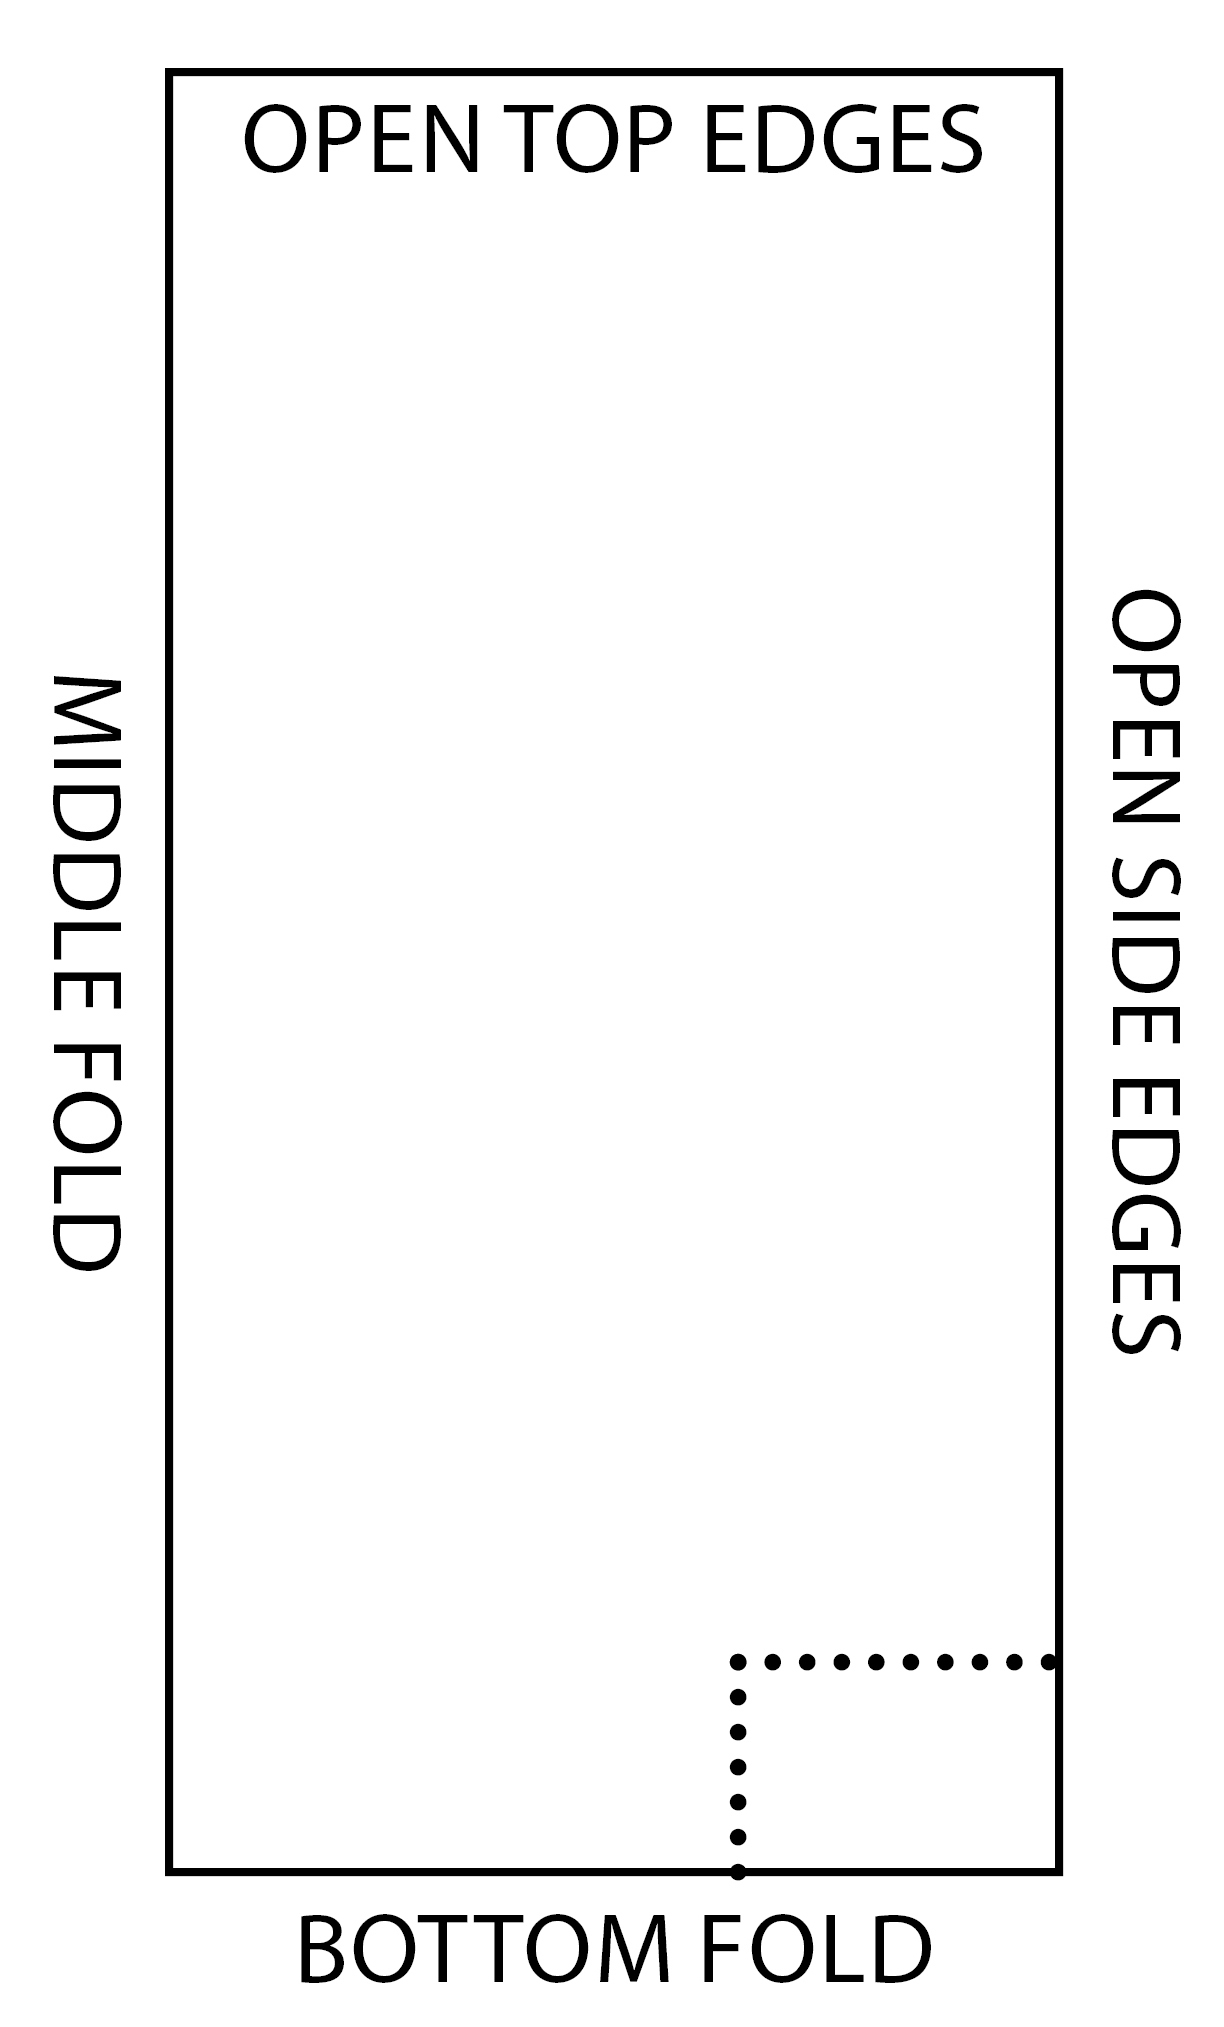
- Cut 18″ off the length of fabric. When selvedge edges are together, that fold created is the bottom of the bag. Fold in half lengthwise, too.
- Measure 17.5″ or 18″ from the bottom fold and cut (for a total of 35″ or 36″ of fabric when unfolded).
- Cut 4″ wide straps from the remaining width.
- Following the diagram above, measure 2.5″ up from the bottom fold and 3.25″ in from the outside edges and cut out that rectangle through all 4 layers.
- To make straps: Press fabric in half lengthwise. Open and press one long edge to the middle crease. Refold middle crease and turn strap over so unfolded side is on top. Fold second long edge in towards middle and press. Repeat with other strap. Top stitch 1/8″ from edges.
- To hem the top of the bag: Press edge down 2″ and then tuck again for a 1″ hem. Measure 5.5″ from each side edge and tuck one end of the strap all the way under the hem. Secure each end of the strap with a pin. Strap will be draping down the wrong (inside) of the bag at this point. Repeat for other top edge.
- On one side, centered between the handles, I pinned an Alexis Art Studio label under the hem.
- Sew 1/8″ from the edge of the hem, adding a square of sewing around the strap where it is under the hem (there’s a picture below of what it looks like from the outside of the bag). Do not sew over pins. Continue to the next handle and to the end. Repeat for other top edge.
- To sew sides: With wrong sides together, sew sides with 1/4″ seam allowance. Turn bag inside out and press seams flat. With right sides together, sew sides with 1/2″ seam allowance.
- To close bottom corners: With wrong sides together and holding bag upside down, bring bottom to meet side. Hold side seam to the right and pin. Sew with 1/4″ seam allowance. Repeat with other side. Turn bag inside out and press seams flat. With right sides together, sew bottom corners with 1/2″ seam allowance.
- To finish the top edge: With the bag still inside out, press seams flat and handles up. Sew around the top of the bag 1/8″ from the edge. When you come to the strap, back up once for reinforcement. When you come to the seam allowance, make a little rectangle around it to hold the seam allowance flat at the top of the bag. This also helps strengthen the top edge of the bag.
Below, pictures of the little reinforcements at the straps and and sides:


